
I love simple biryanis. The ones with just right flavours, not too mild and not too overpowering. And the amount of vegetables that goes into it also matters to me. It shouldn't be overdone yet I like my biryani to have decent amount of veggies in it. I have always had a notion in my head that biryani is a complex dish and one that needs loads of ingredients and cooking time! This has made me shy away from trying them at home as I prefer to keep my cooking simple and quick. Hence, biryani has been a dish that we used to order in from a local eatery.
It was only 2 days back that I made an impulsive decision of making my own biryani at home! I have no clue what made me go for it, especially at 8 in the night after a long working day! But there I was gathering my ingredients on the kitchen counter. I had it all planned up in my head, all that was left to do was... COOK! :D My version uses simple ingredients and follows a super easy method.
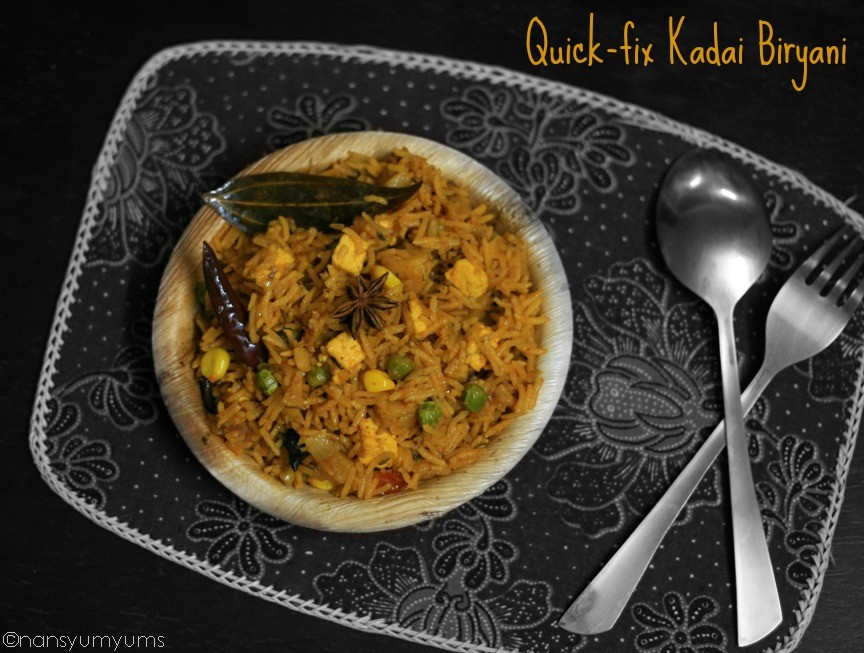
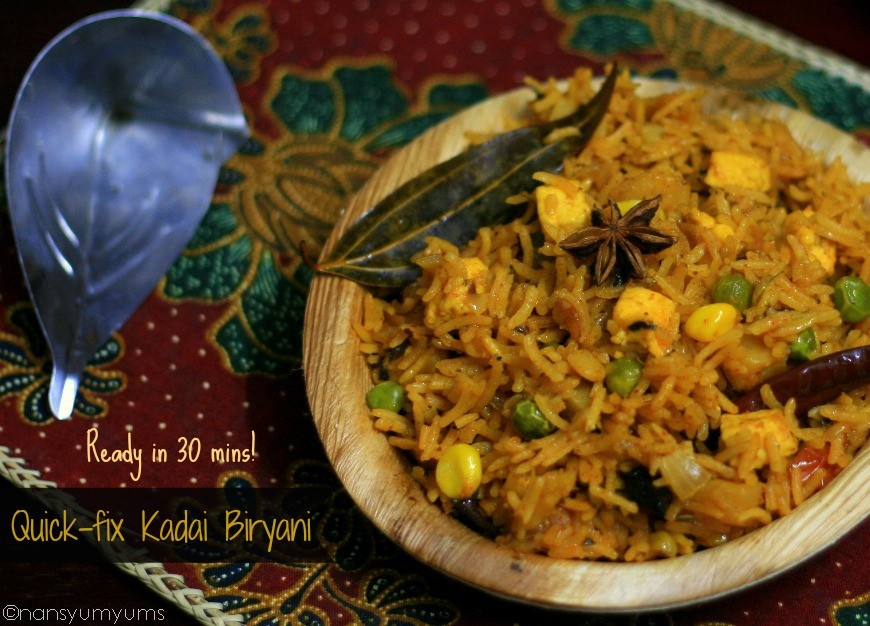
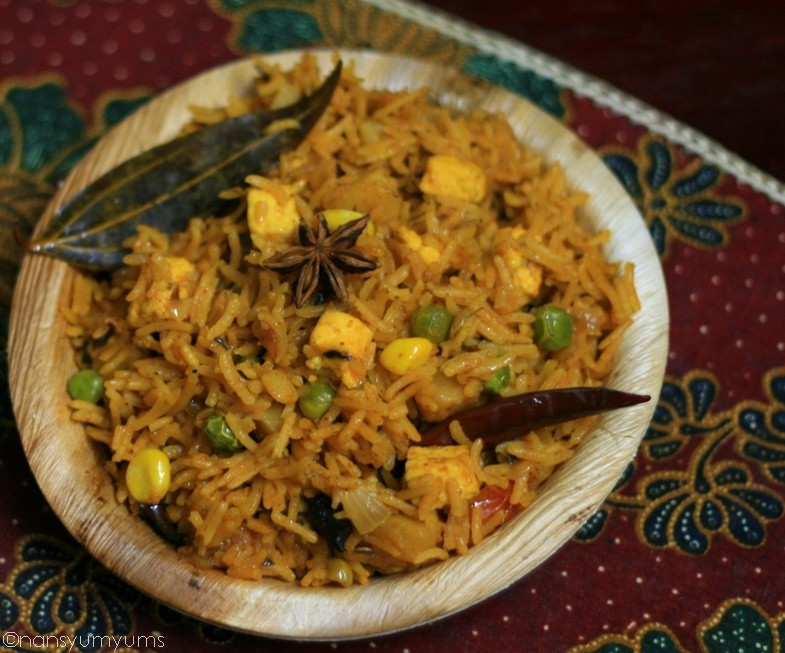
So well, I wanted my biryani to have generous helping of potatoes as that was one veggie we both love in any form and then I wanted paneer in too. Those were the only two major players I had in my mind. Green Peas and Sweetcorn just found their way in as I began cooking!! Yeah, that's how my cooking happens, the recipe unfolds itself as the cooking progresses :)
I did not want to use a pressure cooker as I wanted the rice grains to be nice and fluffy and wanted to monitor it as it cooks, hence opted to cook in a kadai. As the cooking commenced, the fragrance was mighty tempting and to my greatest joy, it was done so quickly! The final product was simply super... way beyond what I had in mind :)
On popular demand, the recipe was repeated last night,... yes it was that YUMMY! :D
Serves: 3
Prep Time: 10 minutes
Cooking Time: 20 minutes
Ingredients
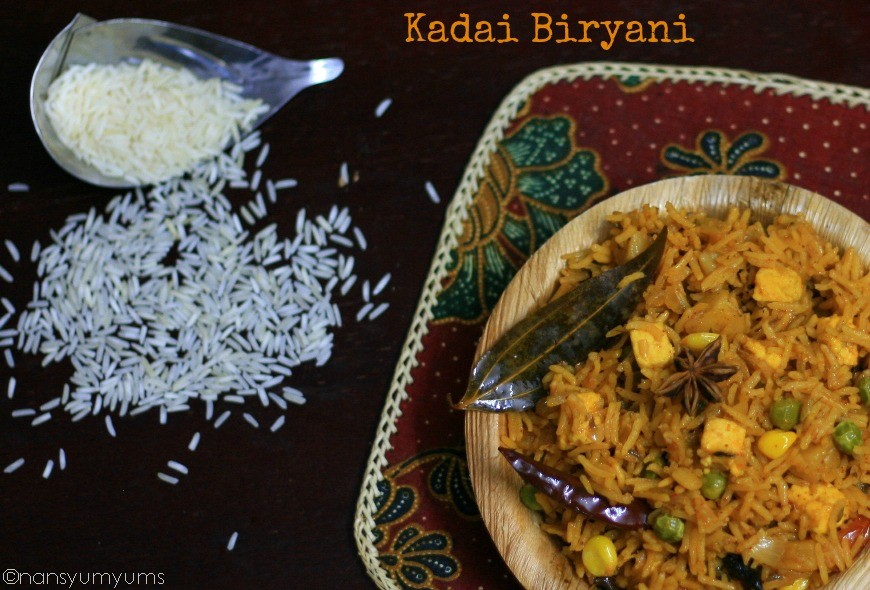
Basmati Rice - 1.5 cups
Water - 3 cups
Paneer/Cottage Cheese - 1/2 cup, tiny cubes
Oil - as needed
Salt - to taste
Veggies
Onion - 1 large
Tomato - 1 small
Potatoes - 1 large, boiled
Green Peas - 1/2 cup
Sweet Corn - 1/4 cup
Spices
Dry Red Chillies - 2
Bay Leaf - 2
Star Anise - 1
Cinnamon Sticks - 2
Javithri/Mace - 1
Cloves - 3
Saunf/Fennel Seeds - 1 tsp
Ginger-Garlic Paste - 1 tbsp
Garam Masala Powder - 1 tsp
Cumin powder - 1/2 tsp
Red Chilly Powder - 1/2 tsp
Turmeric Powder - 1/2 tsp
Kasuri Methi / Dried Fenugreek Leaves - a pinch
Method

- Heat a tbsp of oil in a kadai. Toss in the fennel seeds, bay leaf, cinnamon stick, cloves, mace and dry red chillies. After a minute, add in the finely chopped onions too.
- Stir well and cook on medium flame for about 2-3 minutes until the onions caramelize.
- Add ginger-garlic paste and mix well.
- Now add in the diced, boiled potatoes and mix well. Cook for another 5-6 minutes. Add chopped tomato and mix well.
- Toss in the green peas and sweetcorn as well and mix well.
- Add in the spices - red chilly powder, turmeric powder, cumin powder, garam masala and salt. Stir well to bring all the ingredients together.
- Then. add the paneer cubes and karusi methi leaves. Mix again.

- Allow the mixture to cook for a minute and then add in the Basmati rice. Mix well to coat every grain with the veggie-masala mixture.
- Pour the water and stir gently.
- Cover the kadai with a lid and allow to cook on medium flame for about 15 minutes until the water is soaked in by the rice. Check in frequent intervals to ensure the rice doesn't burn upon over cooking.
- Once the water has vanished and rice seems cooked, turn of the stove, drizzle a little ghee on top and leave the kadai covered to continue cooking for a few more minutes in the residue heat.
Note: To get the biryani rice to be nice and fluffy, make sure you strictly follow the ratio 1:2 i.e., rice:water.
Serve with Raita of choice or enjoy it as is! The fragrance of ghee over this flavourful biryani is divine!! :)
Tweak-alert!
Last
night I made Palak Parathas and had some excess palak puree lying in
the fridge. While wondering how to use it, I remembered my Quick-fix
Kadai Biryani! So, I made it again today with some tweaks!
I
diluted the palak puree and tossed it into the kadai while making the
biryani and got a whole new flavour and colour into it!

Lovely. sounds nice , will try..
ReplyDeleteThis looks so right for those lazy days when you want your meals to cook fast..looks yum
ReplyDeletesuperb version... love your lipsmacking biriyani...
ReplyDeletelooks very flavourful and delicious biriyani...
ReplyDeleteLooks yummy n tempting:)n nice clicks.
ReplyDeleteHello Nandita,
ReplyDeleteLet me tell you by the photo shots i can smell the spices.Wait till Sunday for my family to have the same from your blog...will post with pictures.Thanks Nandita.....like always.
Hello dear,
ReplyDeleteThanks for the virtual treat… biryani looks falvourful.
Hope you are doing good, have a nice weekend ahead!
That biryani looks delicious!
ReplyDeleteHi Nandita, What a pleasure to see two recent posts from your blog in my inbox. Your last post Torcettini was posted on 5th May.
ReplyDeleteLoved your quick fix Biryani. The beauty of your dish is its simplicity. Will try out soon!
Win Exciting and Cool Prizes Everyday @ www.2vin.com , Everyone can win by answering simple questions. Earn points for referring your friends and exchange your points for cool gifts.
ReplyDelete